- Create a Flow to onboard a user.
- Retrieve the new
user_id. - Transfer the funds to the new user.
- Create a Flow for the user to withdraw the funds.
Requirements
Before creating a payout using Flows, you must have:- A Dots account.
- Created an App using the Dashboard or the Dots API.
Flow Steps
Flow steps can be used individually or chained together. The following table presents all steps that are available to create a Flow.| Step | Description | Options Available |
|---|---|---|
authorization | Creates a Dots user and verifies their phone number. |
|
compliance | Collects tax information for the user based on their current location. This step will collect the user’s SSN, date of birth, and address if the user is based in the US. |
|
id-verification | Collects and verifies a user’s government-issued ID and matches their facial scan to that ID. |
|
background-check | Only available for U.S. based users who are over 18. Collects the user’s information, such as SSN, date of birth, and address, to run a background check. If the background check fails, it will trigger an email notification to the app and user.has_criminal_activity will be true. A sex offender check can also be requested by apps that have the feature enabled, with the overall result in user.sex_offender_check_status (possible values: None, passed, failed, pending, information_mismatch). |
|
manage-payouts | Allows the user to add payout methods, set a default, and enable automatic payouts. |
|
manage-payments | Enable the user to connect a bank account for ACH payments. |
|
payout | Allows the user to initiate a payout to their preferred payout method. |
|
redirect | Redirects the user to a URL of your choice. |
|
If a
user_id is not provided, the onboarding step is automatically added to the start of all Flows.When using the Sandbox environment, the compliance step will always be shown even if tax information has already been collected for the user. This allows testing the form without creating a new user.Creating Payouts Using Flows
When using Flows, you can customize the user journey. This guide will use two Flows, to first onboard the user, and then create a payout.1. Onboarding Users
To onboard the user, you have to create the Flow that will create a Dots user, verify their phone number, and collect their tax information. To create the Flow, you’ll use the Create a Flow. For this guide, only thecompliance step will be added to the onboard flow.
To use the Create a Flow endpoint, you have to provide your App credentials for the authentication. Access API Authentication for additional information.
link to embed the onboard process into an iframe within your application. In addition, you’ll use the Flow id to retrieve the user information after they complete the onboarding.
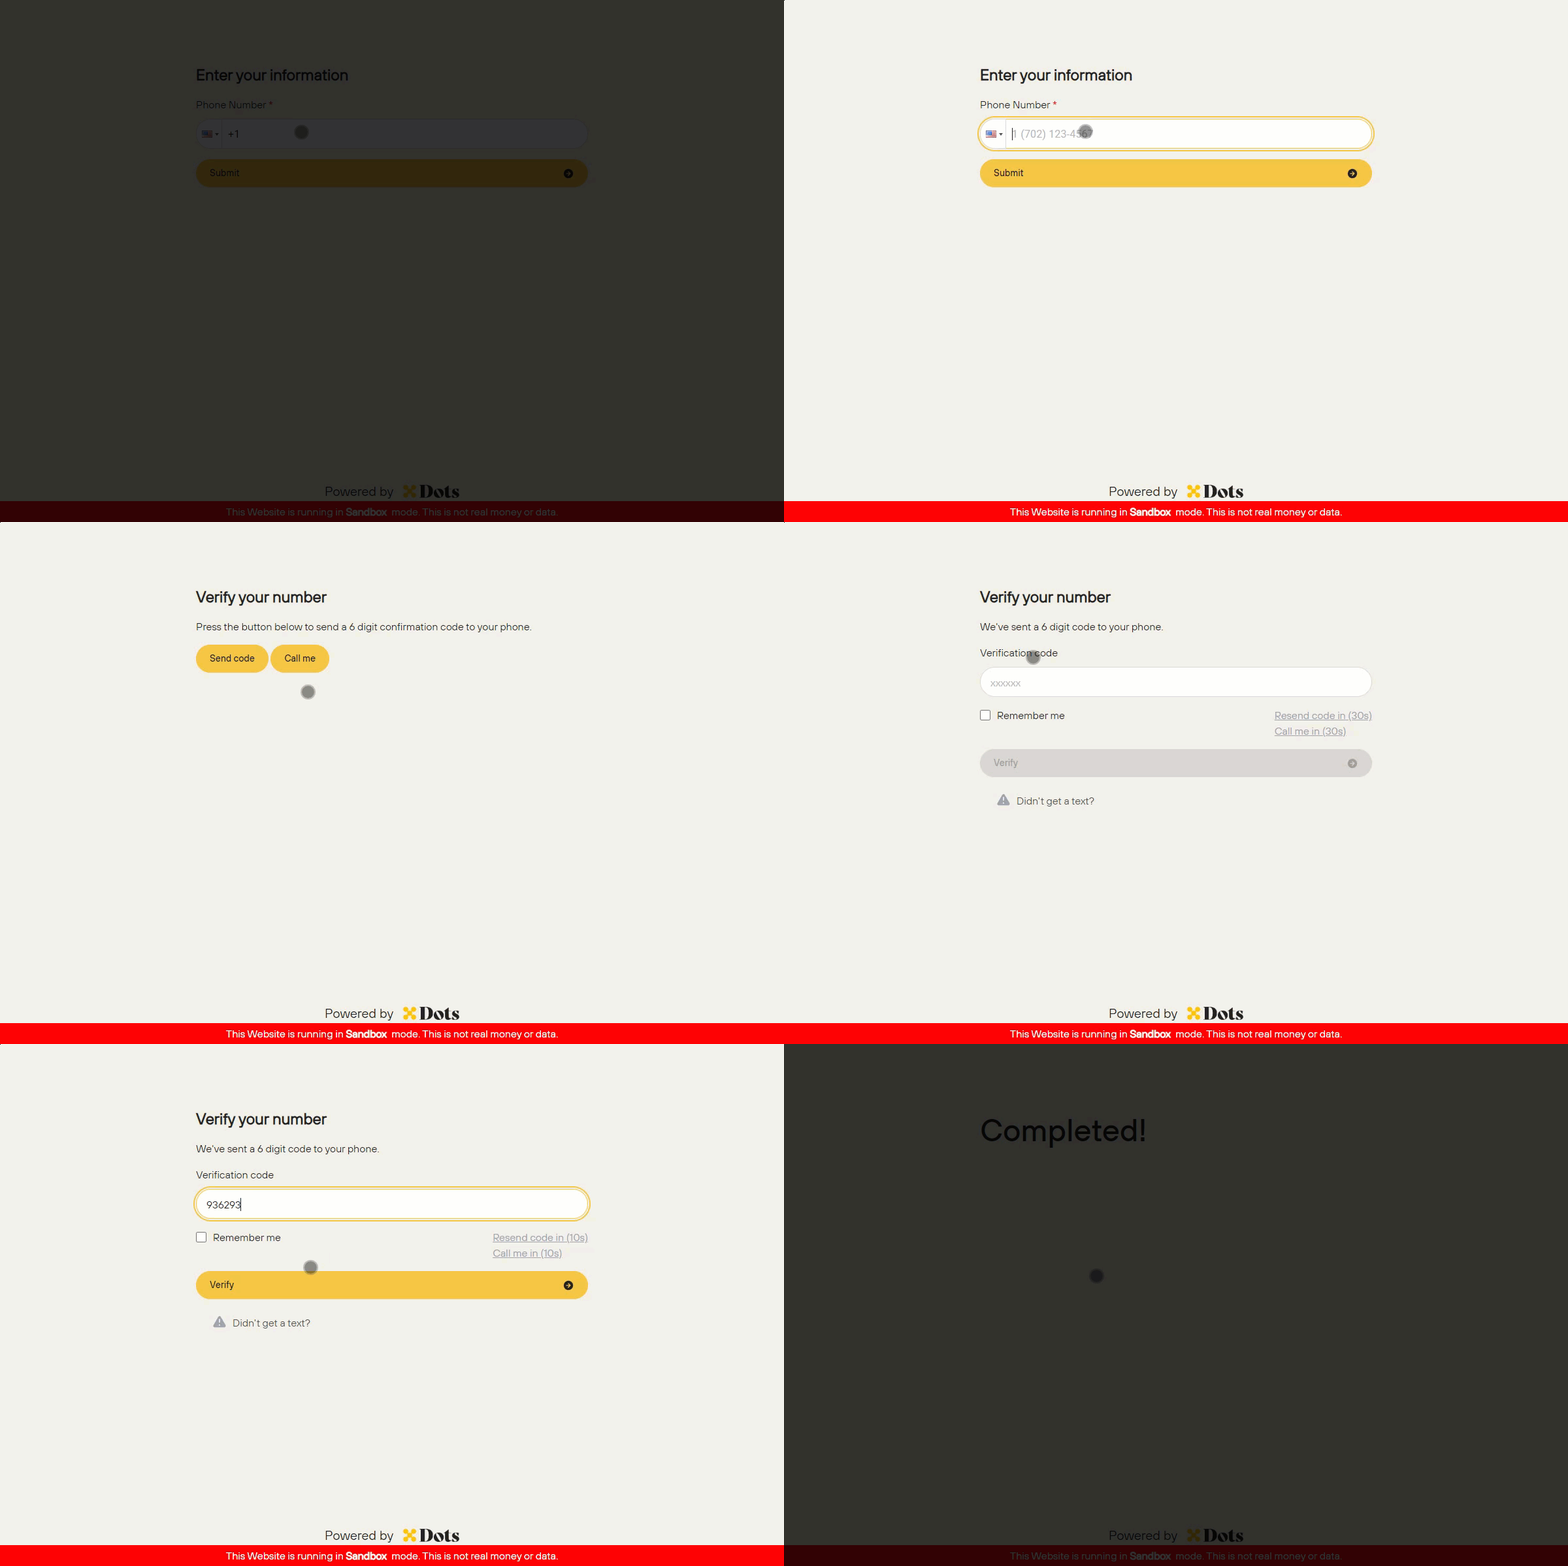
The GIF below presents the user interface provided by Dots, which is completely responsive, enabling you to integrate into any application.

2. Retrieving Flow Information
After the user completes the onboard Flow, you can create the payout. You should use webhooks to avoid checking multiple times to see if your customer has completed the onboarding. When the user completes each Flow step, a webhook will be triggered with the Flow’sid received in the previous step. See the Webhooks documentation page to learn how to configure your webhooks in Dots.
After receiving the confirmation, you can use the Retrieve Flow Information endpoint to have access to the new user_id. The following code block presents request and response examples of retrieving Flow information.
user_id, which you’ll use to create a payout Flow.
If you don’t receive the
user_idin your response, it means that the user hasn’t finished the onboarding Flor.3. Transfering Funds
Now that you have access to the user account information (user_id), you can transfer the funds related to the payout to their account. To perform this action, you’ll use the Create a Transfer endpoint, informing the amount to transfer and the receiver user_id.
The following code block presents request and response examples of creating a transfer using the user_id received in the previous step.
The
amount value must be informed in cents. Use negative values to transfer money from your App to the user.status, you can see that the transfer was completed. Therefore, the funds are in the user account, and now you need to create a Flow to enable them to withdraw these funds.
4. Withdrawing Funds
To complete the payout process, you need to enable the user to withdraw the transferred funds using their preferred payment method. To accomplish this, you can create a new Flow, selecting thepayout step and informing the user_id retrieve in Step 2. Since you provide the user_id, the onboarding steps won’t be presented to your user.
The following code block presents request and response examples of creating a Flow using the Create a Flow endpoint with only the payout step.
The link will stay authenticated for 15 minutes. If the user takes longer than 15 minutes to complete the Flow, they will need to re-authenticate through an SMS verification code.
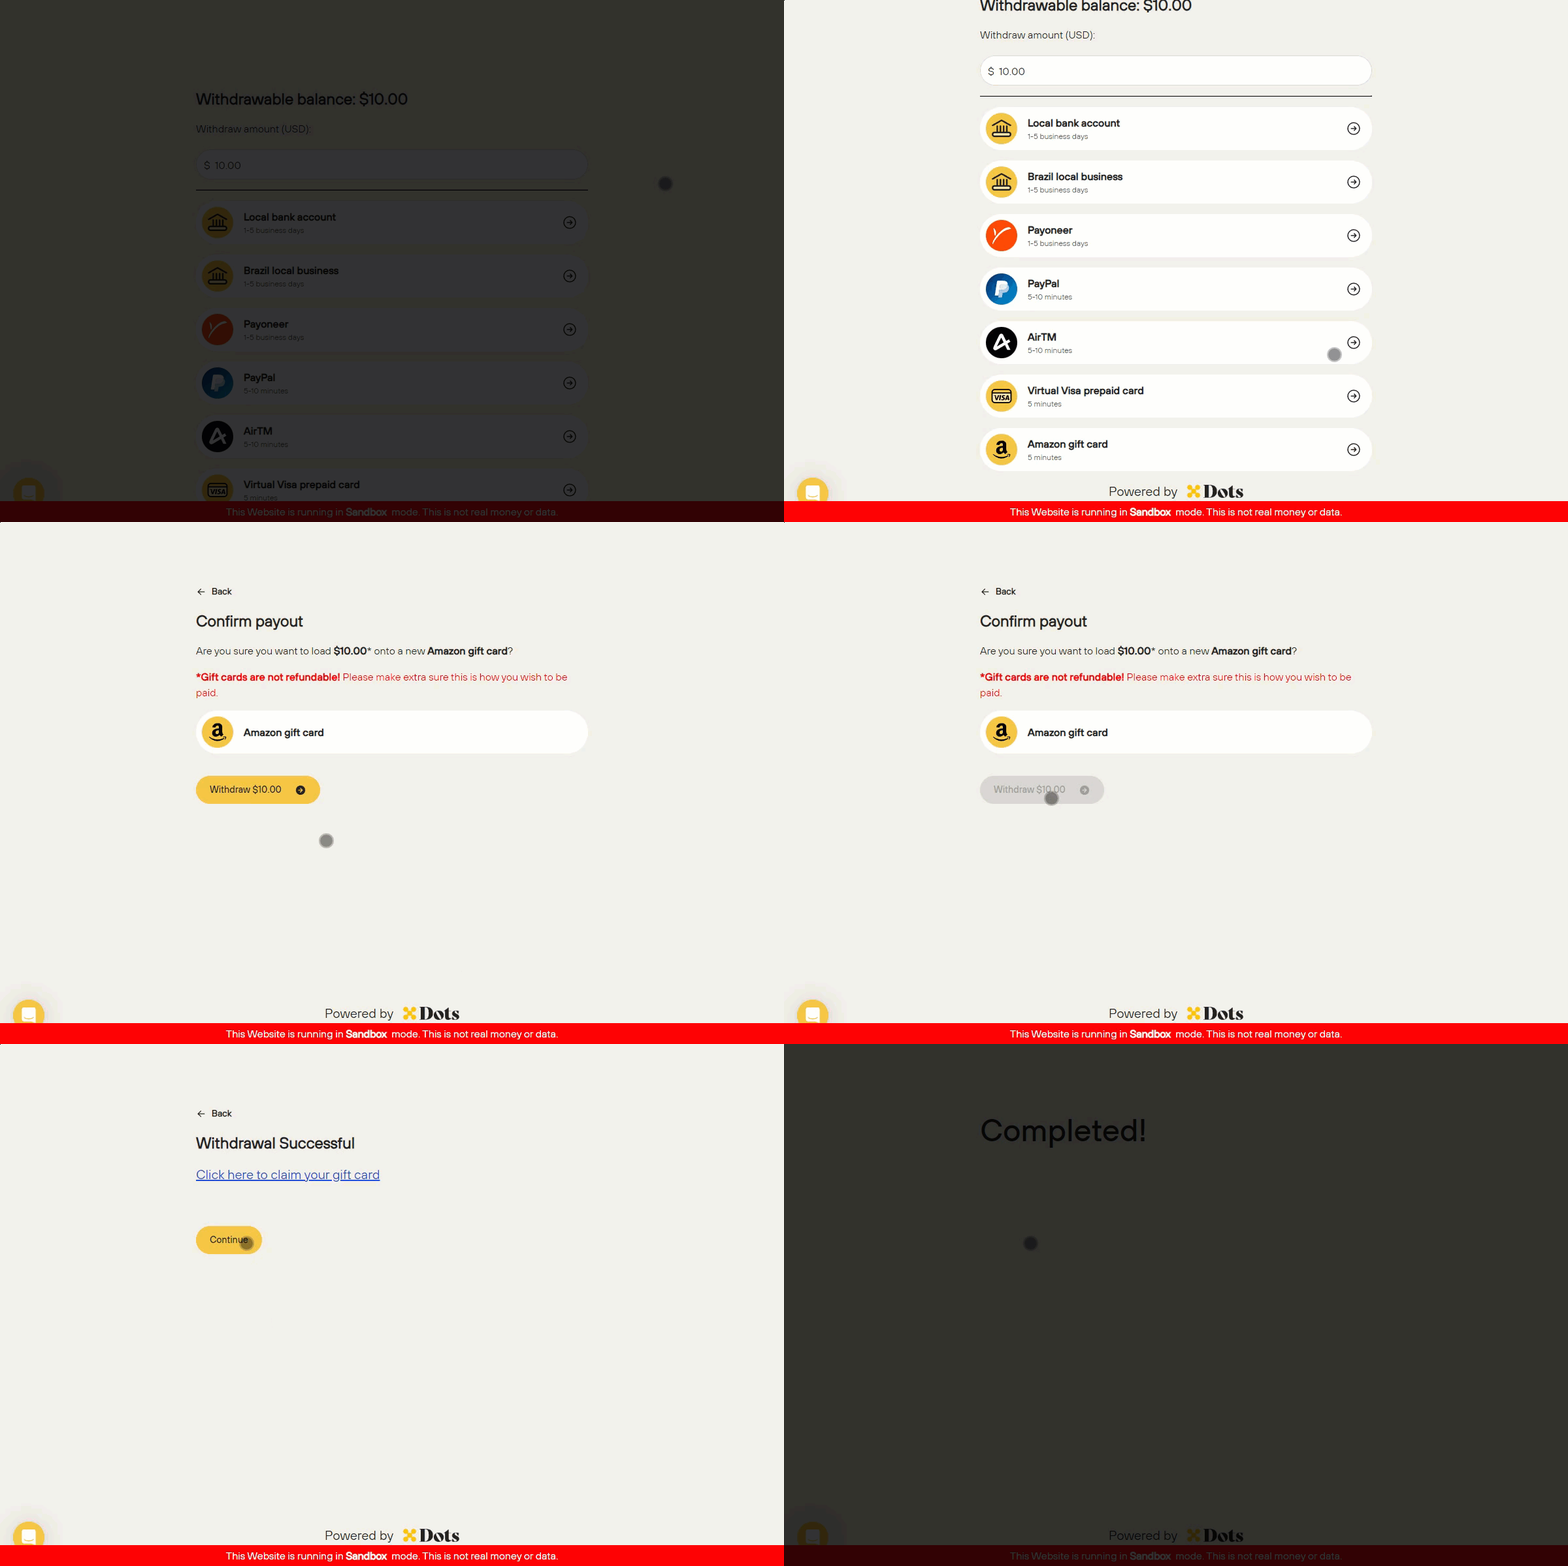
link to embed the payout process into an iframe within your application. The GIF below presents the user interface provided by Dots.


